Introduction to the Service
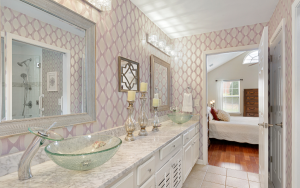
Your bathroom floor is a vital part of your home’s aesthetics and functionality. But what happens when it’s time for a change? If you’re wondering whether you can replace your bathroom floor without removing the toilet, the answer is a confident yes! Our expert team specializes in seamless flooring replacements that save time, reduce hassle, and deliver stunning results—all while keeping your toilet in place.
This innovative service is perfect for those looking to refresh their space without unnecessary disruptions. Whether your old flooring is damaged or outdated, our professional techniques ensure a flawless finish that lasts for years.
Comprehensive Service Description
Replacing your bathroom floor without removing the toilet involves precision, skill, and specialized tools. Here’s what our service includes:
Assessment of Existing Floor
We inspect the condition of your current flooring to determine the best materials and approach for your space.Customized Material Selection
Choose from a wide variety of durable and water-resistant materials such as vinyl planks, ceramic tiles, or engineered hardwood.Precision Cutting and Fitting
Using advanced tools, we carefully cut and fit flooring around the toilet, ensuring a seamless appearance.Professional Installation Techniques
Our experts use adhesive methods and leveling techniques to guarantee a secure and even installation.Finishing Touches
Edges are sealed with waterproof caulking to prevent moisture damage and ensure a polished look.
Key Benefits for You
- ✨ Cost Savings: Avoid the expense of plumbing work by keeping the toilet in place.
- 🕒 Time-Efficient: Faster installation means less downtime for your bathroom.
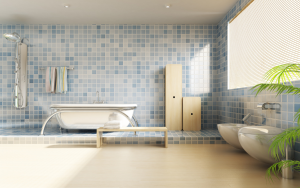
- 🏠 Aesthetic Appeal: Achieve a flawless, updated look without compromising functionality.
- 💧 Water Resistance: Protect your floors with durable, water-resistant materials.
- 📏 Precision Fit: Expert craftsmanship ensures a seamless finish around the toilet.
Step-by-Step Process of the Service
1. Initial Consultation
We’ll discuss your needs, style preferences, and budget, followed by a thorough inspection of your bathroom floor.
- Timeline: 30-45 minutes.
2. Floor Preparation
Old flooring is carefully removed, and the subfloor is cleaned and leveled to create a smooth foundation.
- Timeline: 1-2 hours.
3. Material Selection and Cutting
Choose your preferred flooring material. We then custom-cut it to fit precisely around the toilet.
- Timeline: 1-3 hours, depending on the material.
4. Installation
The new flooring is installed with precision, ensuring a snug fit and secure adhesion.
- Timeline: 2-4 hours.
5. Final Inspection and Clean-Up
We verify the installation, apply finishing touches, and leave your bathroom spotless.
- Timeline: 1 hour.
DIY vs. Professional Job
DIY Methods
- Equipment Needed: Utility knife, adhesive, leveling compound, and flooring material.
- Challenges: Inexperience can lead to uneven cuts, improper sealing, and wasted materials.
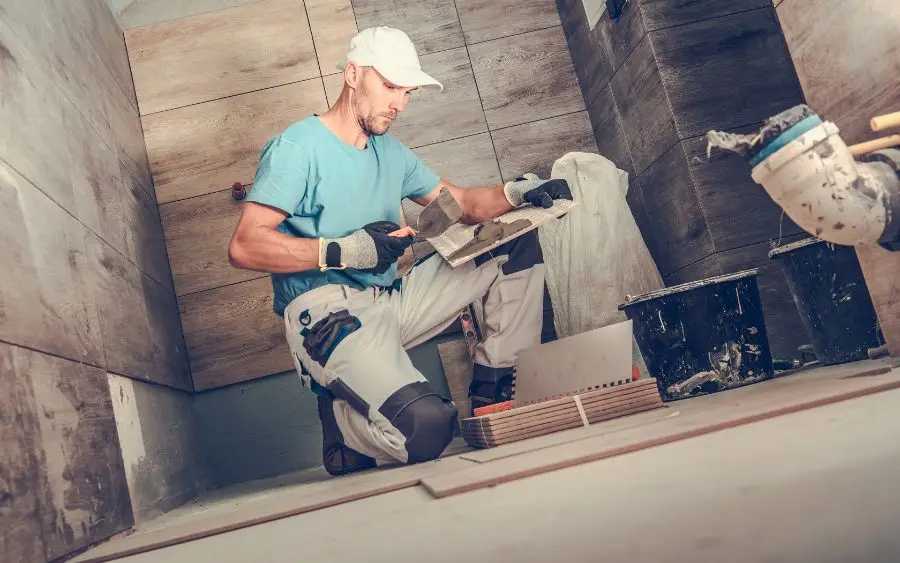
Professional Services
Advantages:
- Access to specialized tools for precision.
- Expertise in fitting flooring around fixtures.
- Guaranteed high-quality results with minimal risk of errors.
Why It Matters: A professional service saves you time, reduces frustration, and delivers a polished finish that DIY methods often cannot achieve.
Helpful Tips for You
Here are some practical tips to ensure the best results when replacing your bathroom floor without removing the toilet:
- 🧹 Clear the Area: Remove any rugs, toiletries, and accessories from the bathroom to give the installers ample space to work efficiently.
- 🛠 Prepare the Surface: If attempting a DIY project, ensure the subfloor is clean, dry, and level before starting.
- 🚽 Inspect the Toilet Base: Check for any leaks or damage around the base of your toilet beforehand, as these should be fixed before flooring installation.
- 💧 Use Waterproof Materials: Opt for water-resistant flooring like vinyl planks or ceramic tiles to prevent future moisture issues.
- 🪛 Keep Tools Handy: If you’re going the DIY route, ensure you have all tools like a utility knife, measuring tape, and adhesive ready before starting.
- 🕒 Schedule Regular Maintenance: After installation, periodically inspect the edges around the toilet to ensure no gaps or wear develop over time.
Maintenance and Aftercare
Maintaining your newly installed floor is crucial for its longevity. Follow these simple steps:
- 🧼 Clean Regularly: Use a damp mop or microfiber cloth with mild soap to keep the floor looking fresh. Avoid harsh chemicals that can damage the finish.
- 💧 Wipe Up Spills Quickly: Prevent water damage by cleaning up spills immediately, especially around the toilet base.
- 🏠 Protect Edges: Ensure the caulking around the toilet remains intact and reapply if needed to maintain a watertight seal.
- 🪑 Avoid Heavy Impacts: Place furniture pads on bathroom fixtures to prevent scratches on the floor.
- 🕒 Schedule Annual Inspections: Check for signs of wear or lifting around the toilet once a year, and address issues promptly.
FAQs
1. Can I replace any type of flooring without removing the toilet?
Yes, most flooring types like vinyl, laminate, and tile can be replaced without removing the toilet, but professional expertise is essential for a seamless finish.
2. Will the toilet base look uneven after installation?
No. We use precision tools and techniques to ensure the flooring fits snugly and evenly around the toilet base.
3. How long does this process usually take?
Most projects are completed within 4-8 hours, depending on the size of the bathroom and type of flooring.
4. Is this process safe for older plumbing systems?
Absolutely. Keeping the toilet in place reduces the risk of disturbing older pipes, making it a safer option for aging systems.
5. Can this method prevent water damage?
Yes. Proper sealing around the toilet and the use of water-resistant materials protect against moisture-related issues.
6. Do I need to do anything before the service?
Clearing the bathroom and ensuring the toilet base is dry and clean will help our team work efficiently.
7. Is it more expensive than traditional flooring replacement?
On the contrary, it’s often more cost-effective since it eliminates the need for plumbing work.
8. What if I want to replace the toilet in the future?
The flooring installation method we use allows for easy removal and reinstallation of the toilet when needed.
9. Can this service be done in small bathrooms?
Yes, it’s an ideal solution for bathrooms of all sizes!
Did You Know?
- 🔧 Quick Fact: Replacing your bathroom floor without removing the toilet can save up to 30% in labor costs compared to traditional methods.
- 🌟 Tip: Vinyl plank flooring is one of the most popular choices for bathroom renovations due to its durability, affordability, and water resistance.
- 💡 Insight: Many professional installers recommend this method for homeowners looking to modernize their space without compromising convenience.
What Our Clients Say
- “I couldn’t believe how quickly my bathroom floor was transformed without the hassle of removing the toilet. The team was professional, and the results were flawless!” – Sarah T.
- “A fantastic service! My new vinyl flooring looks amazing, and the process was so smooth.” – James R.
Get in Touch
Are you ready to give your bathroom floor a stunning makeover without the hassle of removing the toilet? Contact us today to schedule a consultation!
- 📧 Email Us: co*****@***********************se.com
- 🌐 Visit Us: bathroomremodelingluxrise.com
Don’t wait—let’s make your bathroom floor the highlight of your home today! 😊