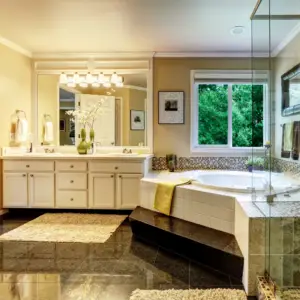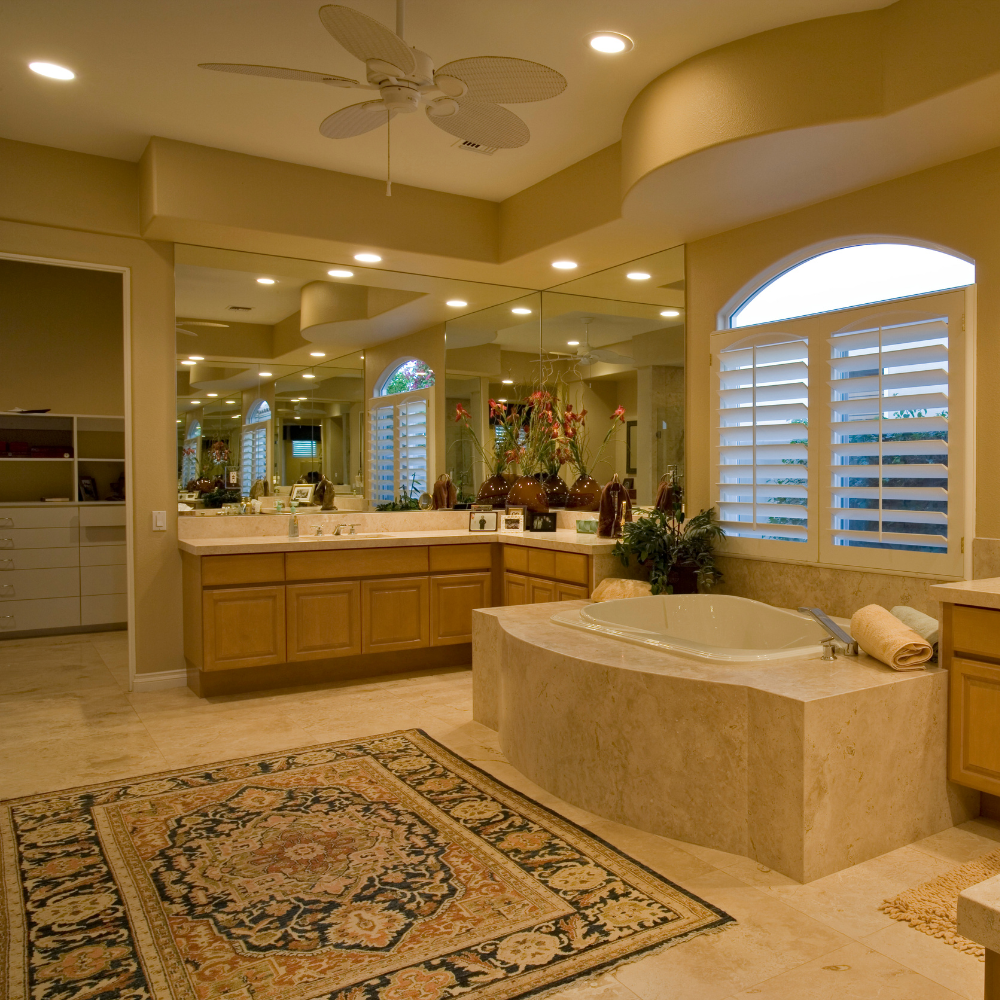
If you’re thinking of tackling a bathroom remodeling project, I’ve got your back. With over 30 years of experience in the remodeling world, I’ve broken it down into a clear, step-by-step process that anyone can follow. From planning to polishing, here’s how I do it right.
1. Plan My Bathroom Remodel
I always start with a solid plan. This keeps the whole process organized and efficient. Skipping this part can lead to major headaches later.
Set a clear budget
Decide if I want to change the layout
Pick my design theme and materials ahead of time
2. Gather Tools and Permits
Before any demo starts, I make sure I’ve got all the tools I need—and that I’m legally allowed to start.
Safety gear, crowbars, screwdrivers, and a shop vac
Required plumbing/electrical permits for Palo Alto, CA
3. Tear Out Old Bathroom
Now comes the fun part: removing all the old stuff that’s no longer working or looking good.
Shut off water and electricity
Carefully remove vanity, toilet, tiles, and tub
Clean up debris before moving to the next step
4. Set Up Bathroom Plumbing and Electrical
Once the space is cleared, I update or reroute plumbing and electrical systems.
Replace corroded or outdated pipes
Install proper wiring for lights, fans, and outlets
Check for code compliance in Palo Alto
5. Install Bathtub or Shower First
Large fixtures like the tub or shower base go in first. I always double-check for level and waterproof properly.
Waterproof the surrounding area
Seal everything to prevent future leaks
6. Lay Down the Floor
With big fixtures set, I focus on flooring. This step builds the foundation for the room’s style.
Use durable, waterproof materials like porcelain tile
Start from the center and work outwards
Use spacers and leveling clips for even tile work
7. Install Drywall and Paint Bathroom Walls
Time to put walls back up and add color to the space.
Use green board or cement board for moisture resistance
Prime, then apply mold-resistant paint
Pick light tones to make small bathrooms look bigger
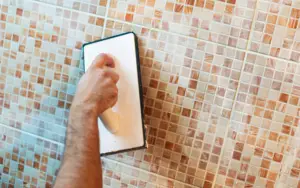
8. Tile the Walls or Shower Surround
Wall tiles create a polished, high-end look. I focus on symmetry and clean grout lines.
Use tile spacers and a laser level
Apply waterproof membrane behind the tiles
Finish with grout and silicone sealant
9. Add the Vanity and Sink
Next comes cabinetry and sinks. This part ties together design and function.
Secure the vanity to wall studs
Hook up water lines and drainage
Level everything to avoid plumbing issues
10. Install Toilet and Fixtures
Here’s where things start to feel finished. I install the toilet, lighting, mirror, and all finishing hardware.
Use a new wax ring for the toilet
Test everything before calling it done
11. Add Finishing Touches and Clean Up
Details matter. I take time to clean thoroughly and make sure every feature looks sharp.
Caulk corners and seams
Install trim, outlet covers, and towel racks
Do a full polish and vacuum
12. DIY vs. Professional Services
While I love DIY projects, I know when it’s time to call in the experts—especially for plumbing and electrical work.
DIY Risks
Costly leaks from poor waterproofing
Incorrect wiring or plumbing
Longer completion times
Pro Benefits
Fast, reliable work
Design guidance
Warranty protection
Familiar with Palo Alto permit processes
Testimonials
“I followed this step-by-step guide and felt confident at every stage. It made my first bathroom remodel so much smoother.” — Jenna L., Palo Alto, CA
“They walked me through the whole process and even helped me plan around the layout. A+ service!” — Bryan M., Palo Alto, CA
“I’m thrilled with how my bathroom turned out. It looks modern, clean, and completely me.” — Carla S., Palo Alto, CA
Did You Know?
Did you know that improper bathroom waterproofing is the #1 cause of mold growth in U.S. homes? Getting this step right is critical to your home’s health.
TL;DR Summary
Start with a solid bathroom remodeling plan
Gather tools, materials, and permits before demo
Demo, then handle plumbing/electrical
Install tub, floors, walls, vanity, and fixtures in that order
Finish with details like caulking and cleanup
DIY can be fun, but pros make it faster and safer
FAQs
What’s the first step in bathroom remodeling?
Always start with planning—budget, layout, and design. This helps avoid mistakes later.
How long does a full bathroom remodel take?
Typically 2–3 weeks, depending on the scope and whether pros are involved.
Do I need permits in Palo Alto for bathroom remodeling?
Yes, especially for plumbing, electrical, and structural changes.
Can I install a bathroom floor before the tub?
No—large fixtures like tubs should go in first to prevent damaging the new floor.
Is it worth hiring professionals?
Absolutely. They work faster, meet code, and usually guarantee their work, which gives peace of mind.