How I Save on Bathroom Tiling Without Compromising Quality
When I plan a bathroom tile job, I don’t just think about cost—I think long-term value. Choosing affordable materials that last longer and still look great is one of the smartest ways I cut expenses.
What I Look For
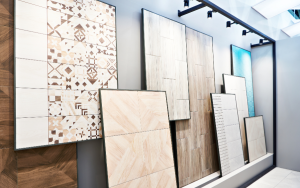
Durable, mid-range tiles that mimic high-end finishes
Timeless patterns that won’t go out of style (less need to remodel later)
Tile designs that require minimal cutting
Pro Insight:
The less I need to cut or modify tiles, the more I save on both labor and waste.
Choosing the Right Bathroom Tiles for My Budget
The first place I save money is with the tiles themselves. But cheaper doesn’t always mean better.
My Go-To Strategy
I compare porcelain vs. ceramic—ceramic often wins in price, but porcelain is more durable for high-moisture areas.
I check local tile suppliers for clearance, overstock, or discontinued styles.
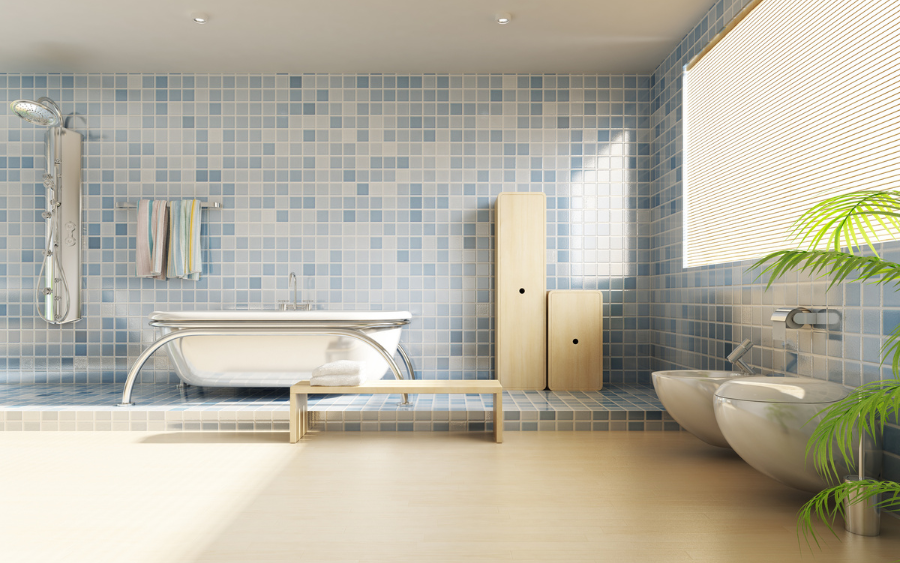
I always ask: Can I tile my bathroom floor and wall with the same tile to buy in bulk?
Planning My Bathroom Tile Layout in Advance
Tile layout can make or break your budget. If I don’t plan ahead, I waste time and materials.
How I Lay It Out
I always sketch the tile layout first
I start tiling from the center or main focal point
I aim to minimize awkward cuts at the corners
Time-Saver Tip:
Using larger tiles helps me tile my bathroom faster and reduces the need for grout, which saves on labor and materials.
Prepping My Surface the Right Way
I learned the hard way that poor prep leads to costly rework. A smooth, clean surface saves me hours and future headaches.
My Checklist
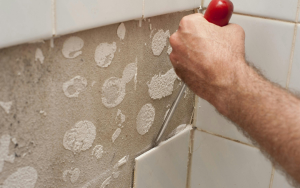
Remove any old tile or adhesive completely
Use a level to check for dips and humps
Apply cement backer board when needed for extra support
Installing Bathroom Tiles Myself (When It Makes Sense)
DIY is tempting, and I’ve done it many times—but only when it makes financial and practical sense.
When I Choose DIY
The area is small and manageable
I’ve got the right tools (tile cutter, spacers, trowel)
I have a simple tile layout with straight lines
When I Hire a Pro
I need precise cuts around fixtures
I’m using expensive tiles I can’t afford to mess up
The layout involves complex patterns or mosaics
Reusing or Removing Old Bathroom Tiles
If the old tiles are still in good shape, I sometimes reuse them to save money.
What I Check First
Are the tiles chipped or cracked?
Can I remove them without breaking?
Will they match my new layout and color scheme?
Safe Removal Tools
Oscillating multi-tool
Cold chisel and hammer
Heavy-duty gloves and goggles
Cutting Bathroom Tiles the Smart Way
Bad cuts waste good tiles. I’ve learned that the right tools save me money.
Tools I Use
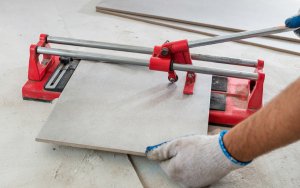
Manual tile cutter for straight cuts
Wet saw for larger or tougher tiles
Tile nippers for small notches
My Secret to Precision
Measure twice, cut once. Simple, but it’s saved me dozens of tiles (and dollars).
Grouting Bathroom Tiles Without Making a Mess
Grout is easy to mess up—and it’s not cheap to redo.
My Process
Mix small batches to avoid waste
Use a grout float at a 45° angle
Wipe excess immediately with a damp sponge
Money-Saving Tip:
I always seal the grout afterward to prevent stains and mold—which saves cleaning and regrouting costs later.
Waterproofing My Bathroom Tiling Properly
Waterproofing isn’t just about showers—it’s about protecting my entire investment.
How I Waterproof
Apply a liquid waterproofing membrane on walls and floors
Overlap seams with mesh tape
Caulk all edges and corners
My Budget Hack
I buy waterproofing products in bulk during seasonal sales—even if I don’t plan to tile right away.
Mistakes I Avoid to Save Money on Tiling
Even minor errors can cost me big bucks later.
The Big 3
Not accounting for tile waste (I always buy 10% extra)
Choosing trendy tiles that go out of style
Skipping underlayment or waterproofing
DIY vs. Professional Services: What Saves Me More in the Long Run?
Sometimes, hiring a professional actually saves me money—especially when precision and speed matter.
Why I Go Pro
I get guaranteed results and avoid costly redos
It’s faster, especially for large or complex jobs
I save on renting or buying expensive tools
Testimonials
“I gave bathroom tiling a shot myself but eventually called in the pros. Best decision ever—looked perfect and stayed on budget.” — Eric M., Dallas, TX
“They walked me through all the tile options and helped me save over $500. So worth it.” — Melissa L., Orlando, FL
“I installed my own tiles but had them do the waterproofing. That combo saved me time and stress.” — Ron G., Seattle, WA
Did You Know?
Did you know that bathroom renovations—including smart tiling—can return up to 70% of your investment when you sell your home?
TL;DR Summary
I choose durable, affordable tiles that look high-end
I always plan my layout to minimize waste and cuts
I waterproof everything to protect my investment
I DIY where I can—but know when to hire a pro
Grouting and prep are just as important as tile choice
FAQs
Q1: How do I choose affordable tiles without sacrificing quality?
I stick to ceramic or clearance porcelain options and always check local warehouses for overstock deals.
Q2: Can I tile over old bathroom tiles to save money?
Sometimes yes, but only if the old tiles are in perfect condition. Skipping proper prep could cost me more later.
Q3: What’s the most cost-effective way to waterproof my bathroom tiling?
Using a liquid waterproofing membrane is affordable and effective. I always apply it before tiling wet areas.
Q4: Is it cheaper to hire someone or do it myself?
Small jobs? I usually DIY. Bigger or more complex layouts? A pro helps avoid expensive mistakes.
Q5: How much extra tile should I buy to avoid running short?
I always buy 10% more than I need to account for cuts, waste, and future repairs.


