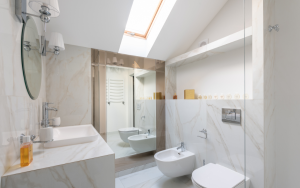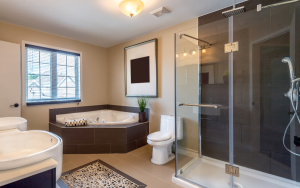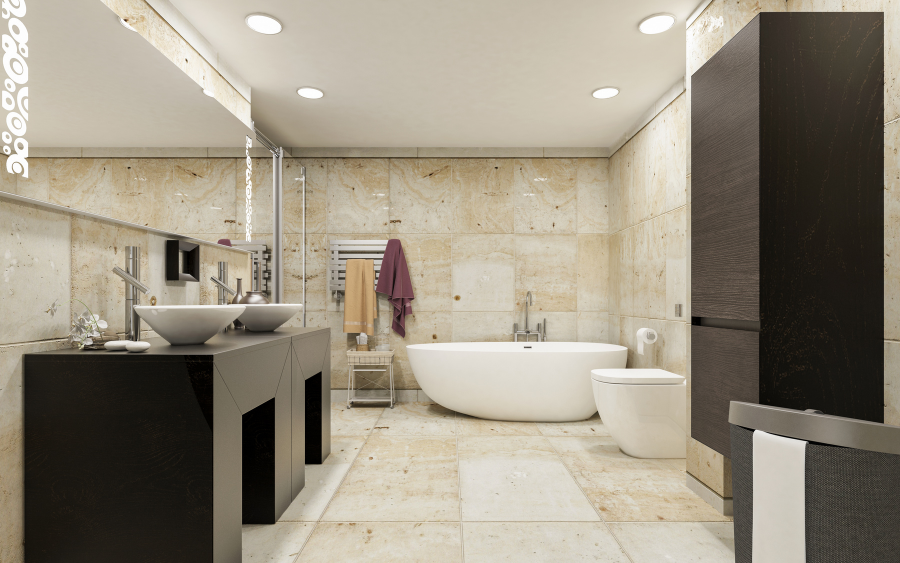
Thinking about redoing your bathroom tiles? You’re in the right place. After decades in the home improvement world, I’ve found that bathroom tiling can make or break your entire bathroom’s look and longevity. Whether you’re doing it yourself or just want to know what to expect, I’m breaking down the 7 exact steps I follow for flawless bathroom tiling—no guesswork, no surprises. These are the steps I swear by to get a professional-quality finish every time.
Why I Always Plan My Bathroom Tiling First
Before I touch a single tile, I sit down and map out the entire project. Planning saves me from wasted materials, uneven layouts, and last-minute trips to the store.
Tools I Gather First
To start strong, I make sure I have these ready:
Tile cutter or wet saw
Level and measuring tape
Tile spacers
Notched trowel and float
Buckets and sponge
Safety goggles and gloves
Without these, I’d be back and forth all day.
How I Measure My Bathroom Layout
Accuracy matters more than anything when it comes to tile. I always measure the full layout of my bathroom, taking into account fixtures and floor/wall transitions.
Common Measuring Mistakes to Avoid
Skipping the middle point: I find the center of the room to guide tile placement.
Forgetting diagonal checks: Especially important for off-square rooms.
Ignoring wall irregularities: I always account for bowed or curved walls.
How I Pick My Tile Pattern
I choose tile patterns based on space, style, and ease of installation. Some patterns are better for small spaces, while others add drama to larger bathrooms.
My Go-To Layouts

Subway: Clean and timeless.
Herringbone: Great for floors and accent walls.
Stacked: Simple, modern, and minimal.
I dry lay a few tiles to visualize the final look before I commit.
How I Prep Bathroom Walls and Floors
This is the make-or-break step. I always ensure my surfaces are clean, dry, and level.
Surface Cleaning and Patching
Scrape off old adhesives
Fill in cracks or holes with patching compound
Sand rough spots smooth
Make sure everything is dry before applying thin-set
How I Waterproof My Bathroom
Moisture is the enemy of any bathroom tile job. I never skip this step.
My Favorite Waterproofing Materials
RedGard: Paint-on liquid membrane for easy wall protection.
Schluter Kerdi Sheets: Great for full showers and behind tiles.
I also seal around corners and fixtures for extra protection.
How I Cut Tiles Cleanly and Safely
Tile cutting isn’t as scary as it looks—if you have the right tools.
Tools I Use for Cutting
Wet Saw: Perfect for precise cuts and corners.
Snap Cutter: Great for straight cuts on wall tiles.
I always mark my cut lines and double-check measurements before cutting.
How I Install Bathroom Tiles Step by Step
This is where it all comes together. I take my time here to make sure everything aligns perfectly.
Laying the First Tile
I start from the center and work my way out
Use tile spacers to keep lines even
Check level every few tiles
Apply thin-set with a notched trowel, pressing tiles in firmly
How I Grout My Tiles Without Gaps
Grouting pulls the whole look together and seals the tiles in place.
Grout Application Tips
Mix the grout to a peanut butter consistency
Apply with a rubber float at a 45° angle
Remove excess grout with a damp sponge before it hardens
Let it cure before walking on it
How I Seal Bathroom Tile for Durability
Even the best tile job needs protection. I seal every job I finish.
Sealant Types I Trust
Penetrating Sealers: Great for natural stone and porous tiles.
Surface Sealers: Add a glossy finish and repel moisture.
I reapply sealant every 1–2 years to keep everything looking fresh.
DIY vs. Professional Services
Thinking of doing it yourself? Tiling is rewarding—but not without risks.
Risks of DIY Bathroom Tiling
Crooked or misaligned tiles
Leaks from poor waterproofing
Cracked tiles due to bad prep
Wasted time and materials from mistakes
Benefits of Hiring a Pro
Faster, cleaner installation
Perfectly aligned patterns
Professional waterproofing
Long-term durability backed by warranties
Sometimes, I still hire a pro if the project is too big or complex.
Testimonials
“I never imagined my bathroom could look this good. They helped me every step of the way and the tile work is flawless!” — Emily S., Miami, FL
“Worth every penny. The attention to detail in the tiling was just incredible.” — Mark L., Austin, TX
“I tried doing it myself before and failed. This time I called a pro and the results speak for themselves!” — Rachel K., Denver, CO
Did You Know?
Most cracked bathroom tiles aren’t caused by poor-quality tiles—but by skipped waterproofing and surface prep.
TL;DR Summary
Always plan your layout and gather tools first
Measure accurately and pick a layout that fits your space
Clean, patch, and waterproof before installing
Cut tiles precisely and start installation from the center
Grout carefully and seal everything for long-term protection
DIY is possible, but pros save time and prevent mistakes
A good tile job can completely transform your bathroom