Why Is My Shower Floor Leaking?
A leaking shower floor can feel like a nightmare. If you’ve noticed water stains, soft tiles, or moldy smells, you might be dealing with a deeper issue beneath the surface.
Poor Waterproofing
One of the biggest culprits is poor or missing waterproofing. If the shower floor membrane wasn’t installed correctly—or skipped entirely—water can seep into the subfloor.
Outdated waterproofing materials
Improperly installed waterproof membrane
Cracked Grout or Tiles
Even tiny cracks in grout or tile can let water pass through, especially over time. Once the seal is broken, it doesn’t take much to create a path for leaks.
Grout wears down and breaks
Water finds micro-cracks and soaks into the subfloor
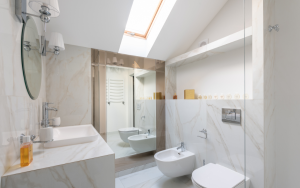
Step 1: Inspect My Shower Floor for Visible Damage

Soft or squishy spots? That’s trapped moisture.
Black mold near the base? A hidden leak could be the cause.
Step 2: Test the Slope of My Shower Floor
A good shower floor slope guides water straight to the drain. Use a level to check that your floor isn’t flat or tilted away from the drain.
Quick Slope Test
Place a marble or small ball on the floor—if it doesn’t roll toward the drain, your slope might be off.
Step 3: Remove Old Grout or Damaged Tile

Old or cracked materials should be cleared before repairs. Use a grout saw or rotary tool to remove loose grout and lift damaged tiles.
Be gentle to avoid damaging the waterproof layer
Clean the area thoroughly before moving on
Step 4: Apply a Waterproof Shower Membrane
Now it’s time for real protection. Install a high-quality shower floor membrane over the cleaned surface. This acts as a barrier between your tiles and the subfloor.
Options to Consider
Liquid membranes (paint-on style)
Sheet membranes (rolled out and bonded)
Step 5: Install the Right Shower Floor Pan
The shower floor pan is your next defense line. Make sure it fits your space and is installed correctly to avoid pooling or cracks.
Pre-sloped pans are ideal for DIYers
PVC or ABS pans work well in most homes
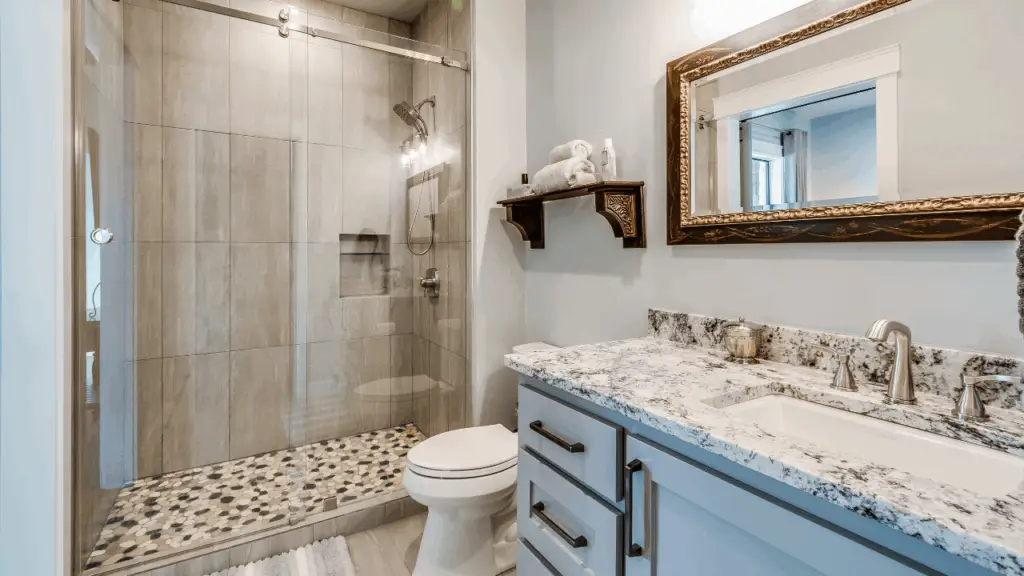
Step 6: Tile My Shower Floor with Care
With the membrane and pan in place, it’s time to tile my shower floor. Use waterproof adhesive and pay close attention to tile spacing for proper drainage.
Small tiles = better grip and easier slope
Use spacers for even grout lines
Step 7: Seal My Shower Floor Grout
After the grout sets, use a waterproof sealer to lock everything in. Re-sealing every 1–2 years helps prevent shower leaks.
Tips for Sealing
Choose a mold-resistant grout sealer
Apply two coats for added protection
Step 8: Final Leak Test and Inspection
Before using the shower, perform a flood test. Plug the drain, fill the pan slightly with water, and let it sit for 24 hours. Check for leaks around the base.
No water loss? You’re good to go.
Water puddles or damp spots? Reinspect your membrane and sealant.
DIY vs. Professional Services

Fixing or building a leak-free shower floor yourself can be rewarding, but it’s not always risk-free. A pro can identify hidden issues, ensure perfect slope, and apply the best waterproofing techniques. If you’re unsure about any step, hiring a professional can save you time and major water damage repairs.
Testimonials
“I couldn’t figure out where the leak was coming from. Their team found it, fixed it, and now my bathroom’s bone dry!” — Karen L., Austin, TX
“Honestly, I thought I could do it myself… then I called the pros. Worth every penny!” — Josh M., Buffalo, NY
“No more mystery puddles in the hallway. These guys really know shower floors!” — Rita P., Sacramento, CA
Did You Know?
Did you know a single pinhole leak in your shower floor can waste over 2,000 gallons of water in a year—and cause $5,000+ in damage?
TL;DR Summary
Inspect my shower floor regularly for visible damage
Ensure proper slope for effective drainage
Remove cracked grout and damaged tile before repairs
Apply a waterproof membrane for moisture protection
Use the right shower pan and seal everything thoroughly
Test the floor for leaks before first use
Consider a pro if the job feels overwhelming
FAQs
How do I know if my shower floor is leaking?
Look for signs like moldy smells, soft tiles, or water stains outside the shower. If unsure, a moisture meter can help confirm.
Can I waterproof a shower floor without removing the tiles?
Not effectively. Real waterproofing requires access to the substrate beneath the tiles.
What’s the best material for a shower floor pan?
Pre-sloped pans made from PVC or ABS are great for most installations and ensure proper drainage.
How often should I reseal my shower grout?
Every 1–2 years, depending on use. Resealing protects against leaks and mold buildup.
Should I do the leak test myself or hire a professional?
You can do it yourself, but a pro will spot issues you might miss. For peace of mind, it’s worth hiring help.